DYEDBRO Install guide
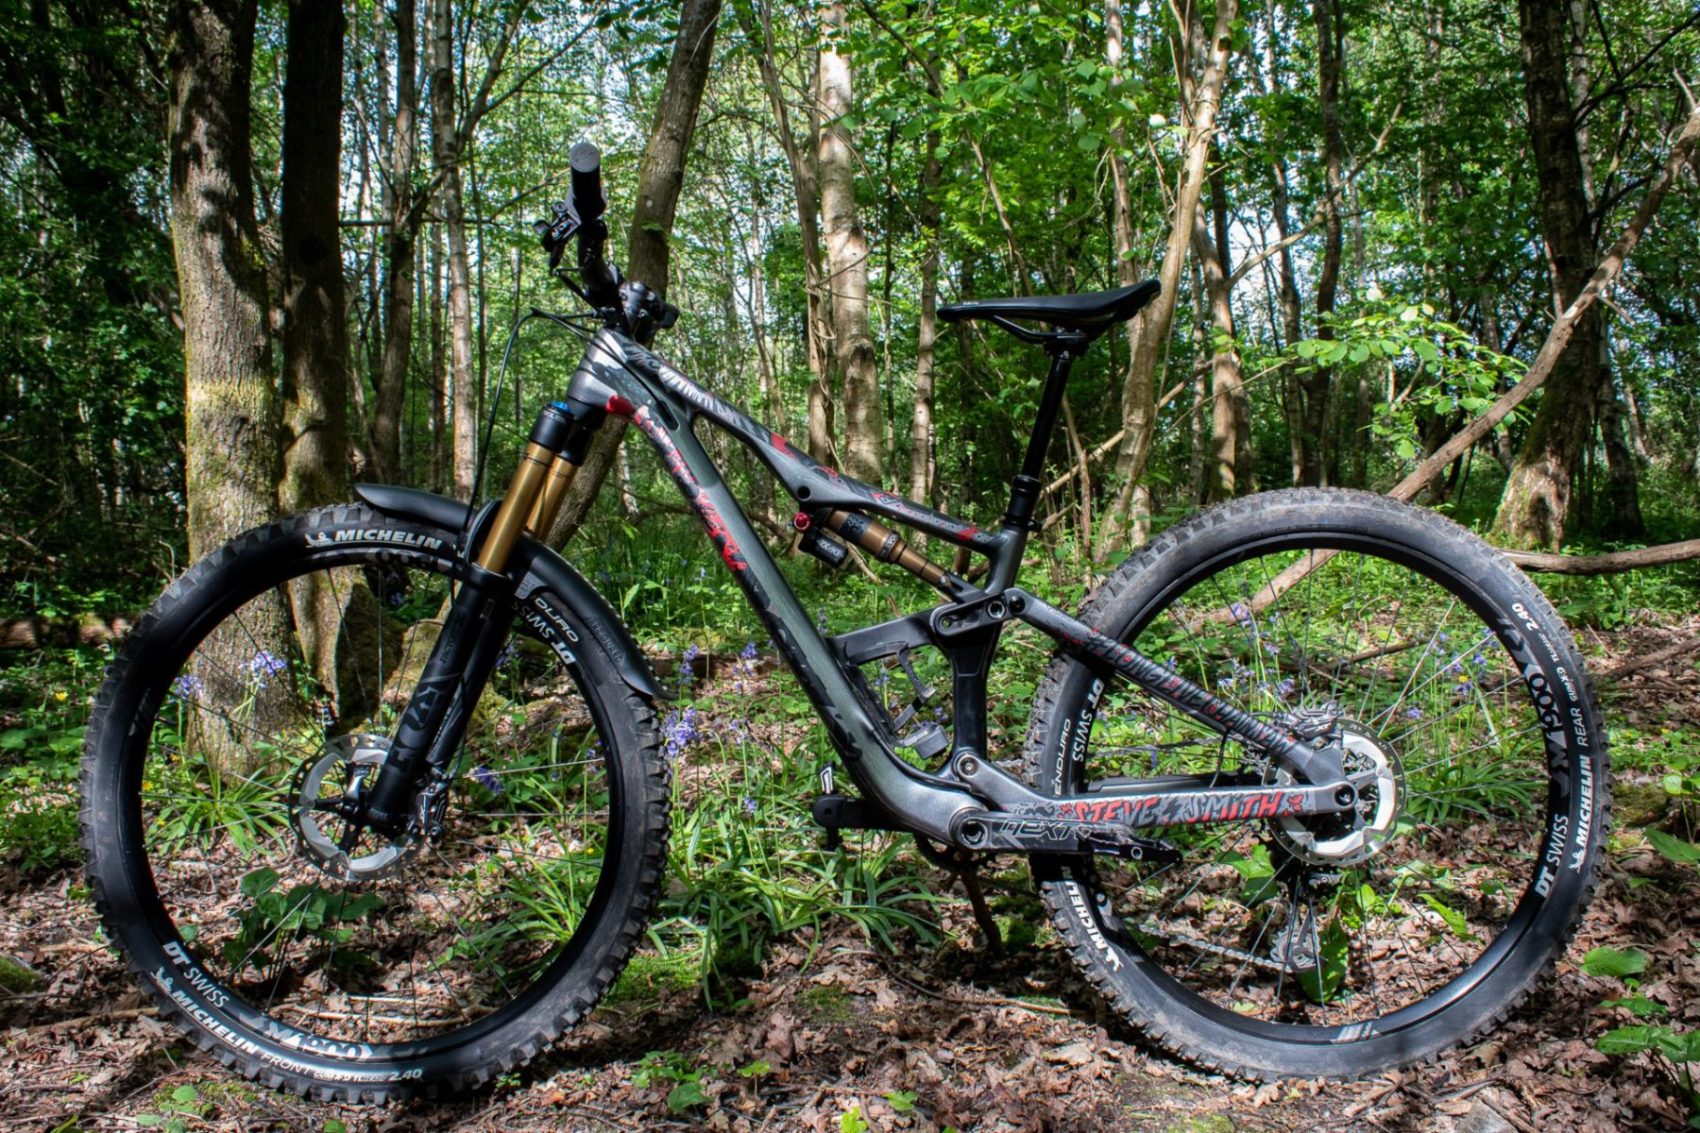
Installing the DYEDBRO kit on my Orbea Occam was an absolute breeze and is super achievable to get great results from the comfort of your own home without having to pay costly labour charges. If you follow these easy steps from my own experience then you’re well on your way to having a great looking frame protection on your bike. If you want to see our thoughts on these frame protection kits from DYEDBRO we have a previous article published which you may want to read first.
Tools Needed
- Scalpel Handle and blade (sharp blade)
- Hairdryer
- Card spreader (included in kit)
- optional spray bottle with soapy winter
Getting Started
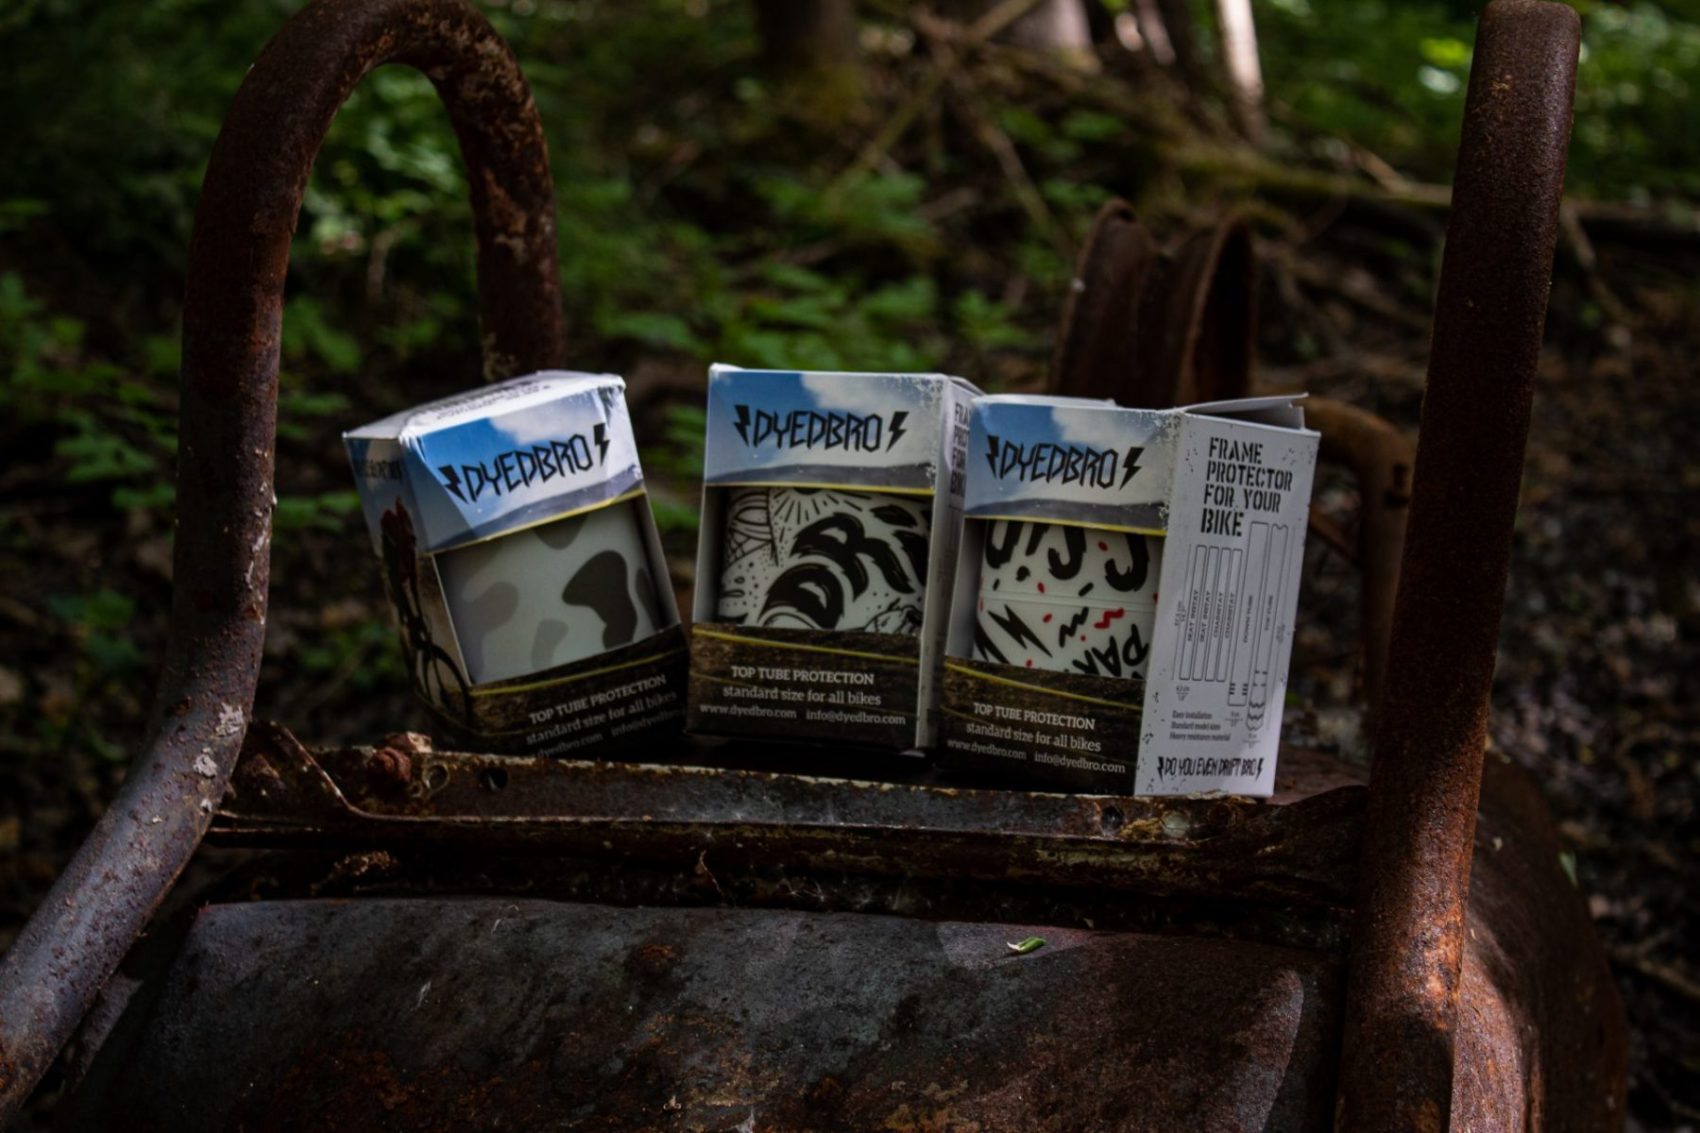
Pick your favourite and design and order from DYEDBRO
Once your kit arrives its time to begin. Firstly make sure you remove your wheels and anything that will likely get in the way of installing the protection kit, Wheels are more than enough. You need to then clean your frame of all dirt and contaminants that could be clinging to your paint.
Now when it came to installing I found it much easier to get the vinyl into place with a light spray of soapy water. If you do prefer to use this method I would recommend either covering or removing your brake pads so that you don’t contaminate them.
Application
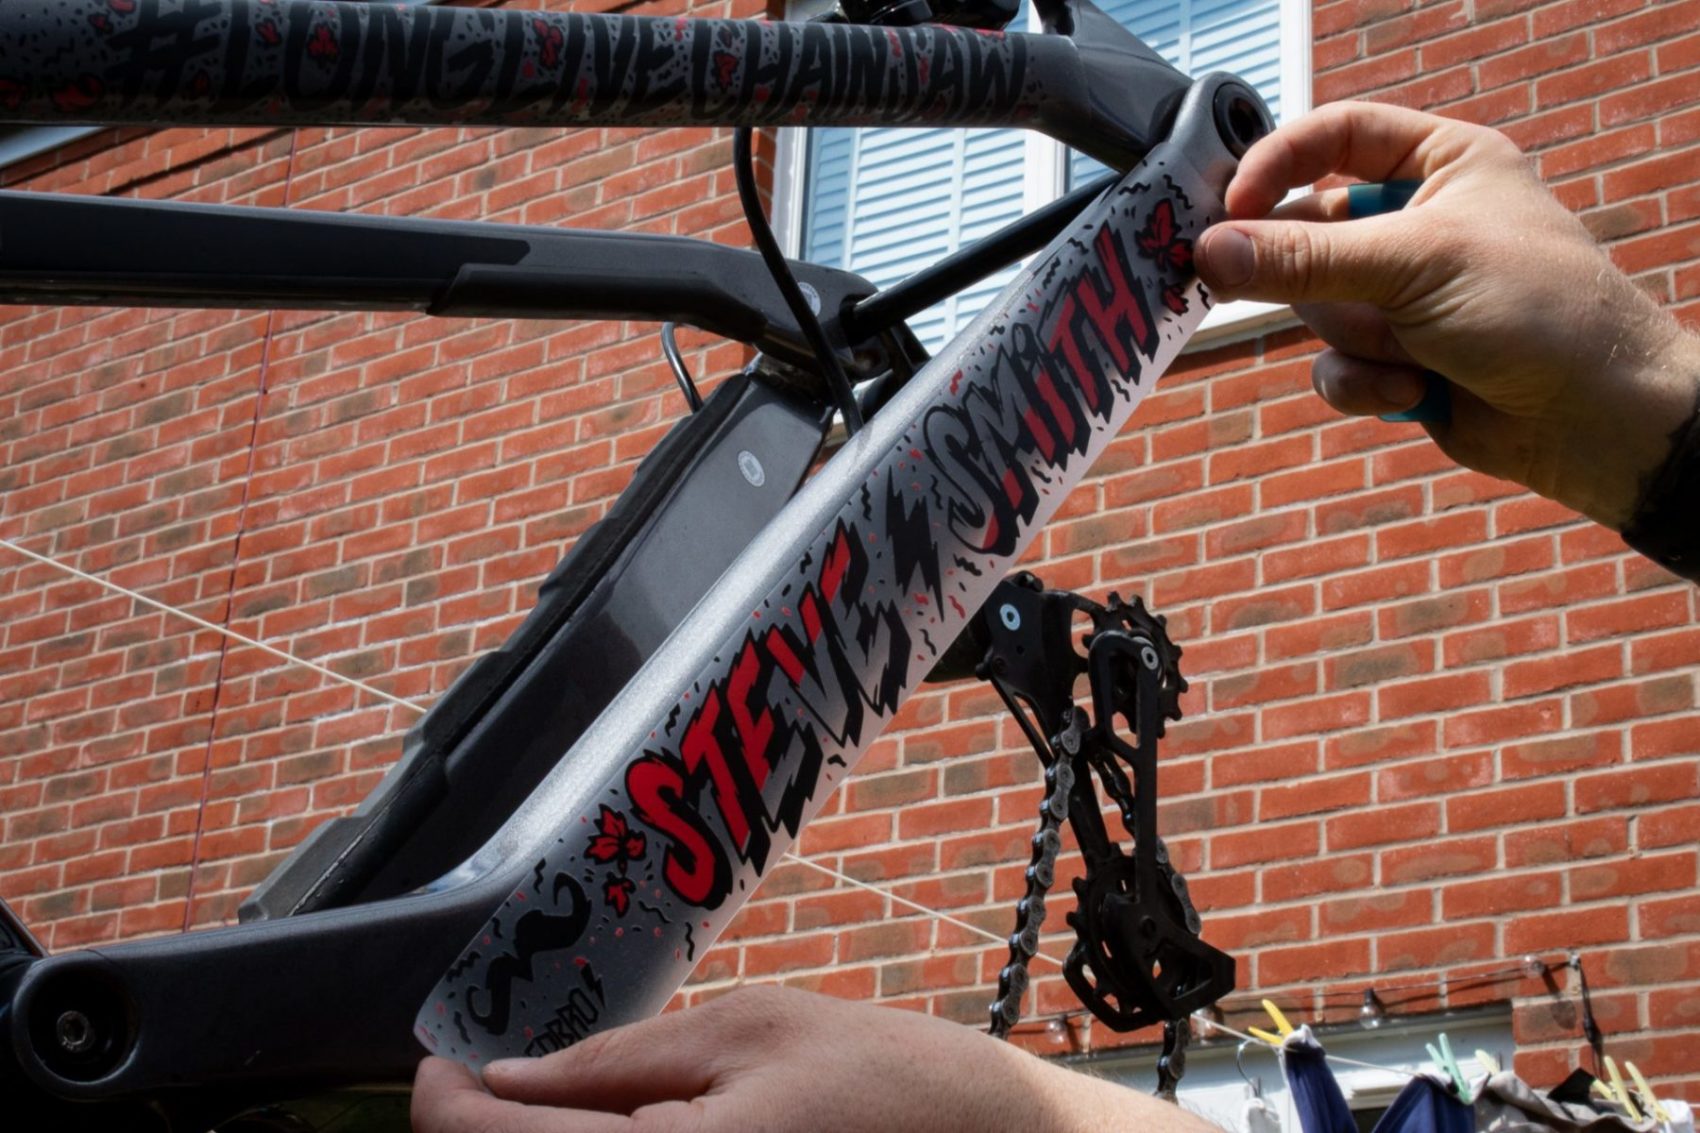
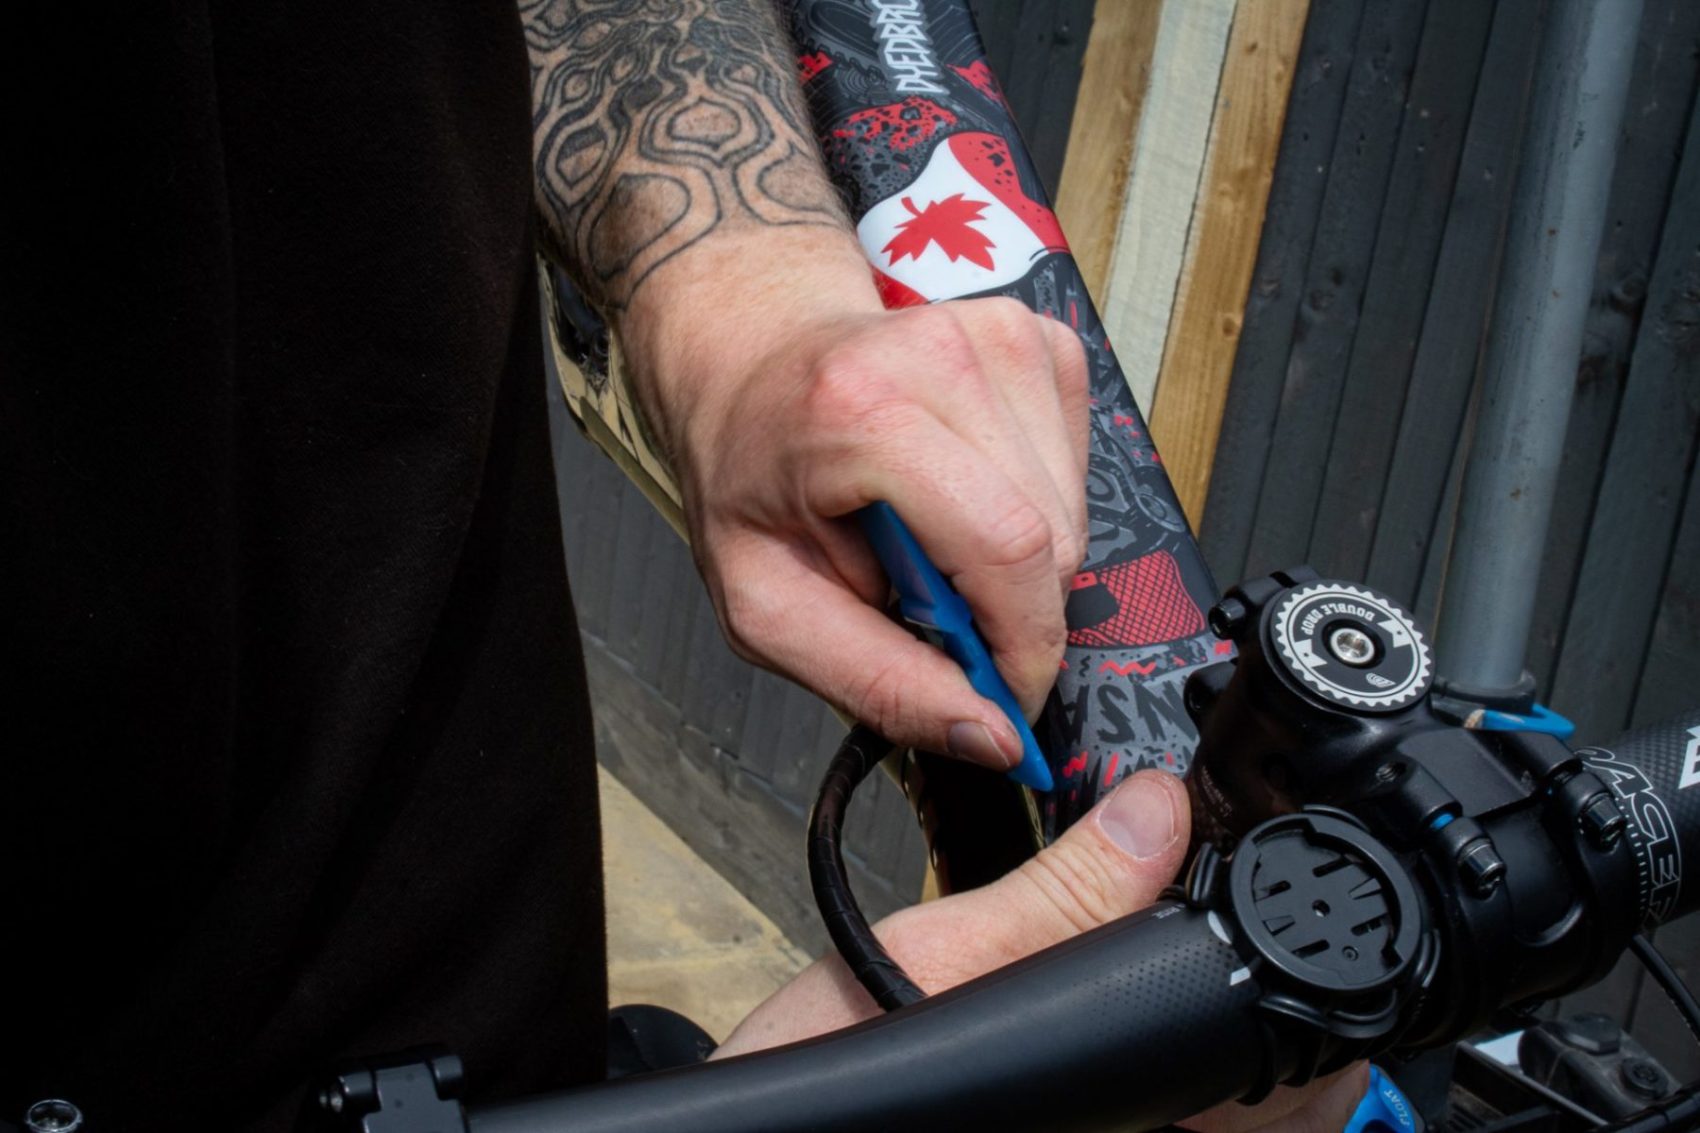
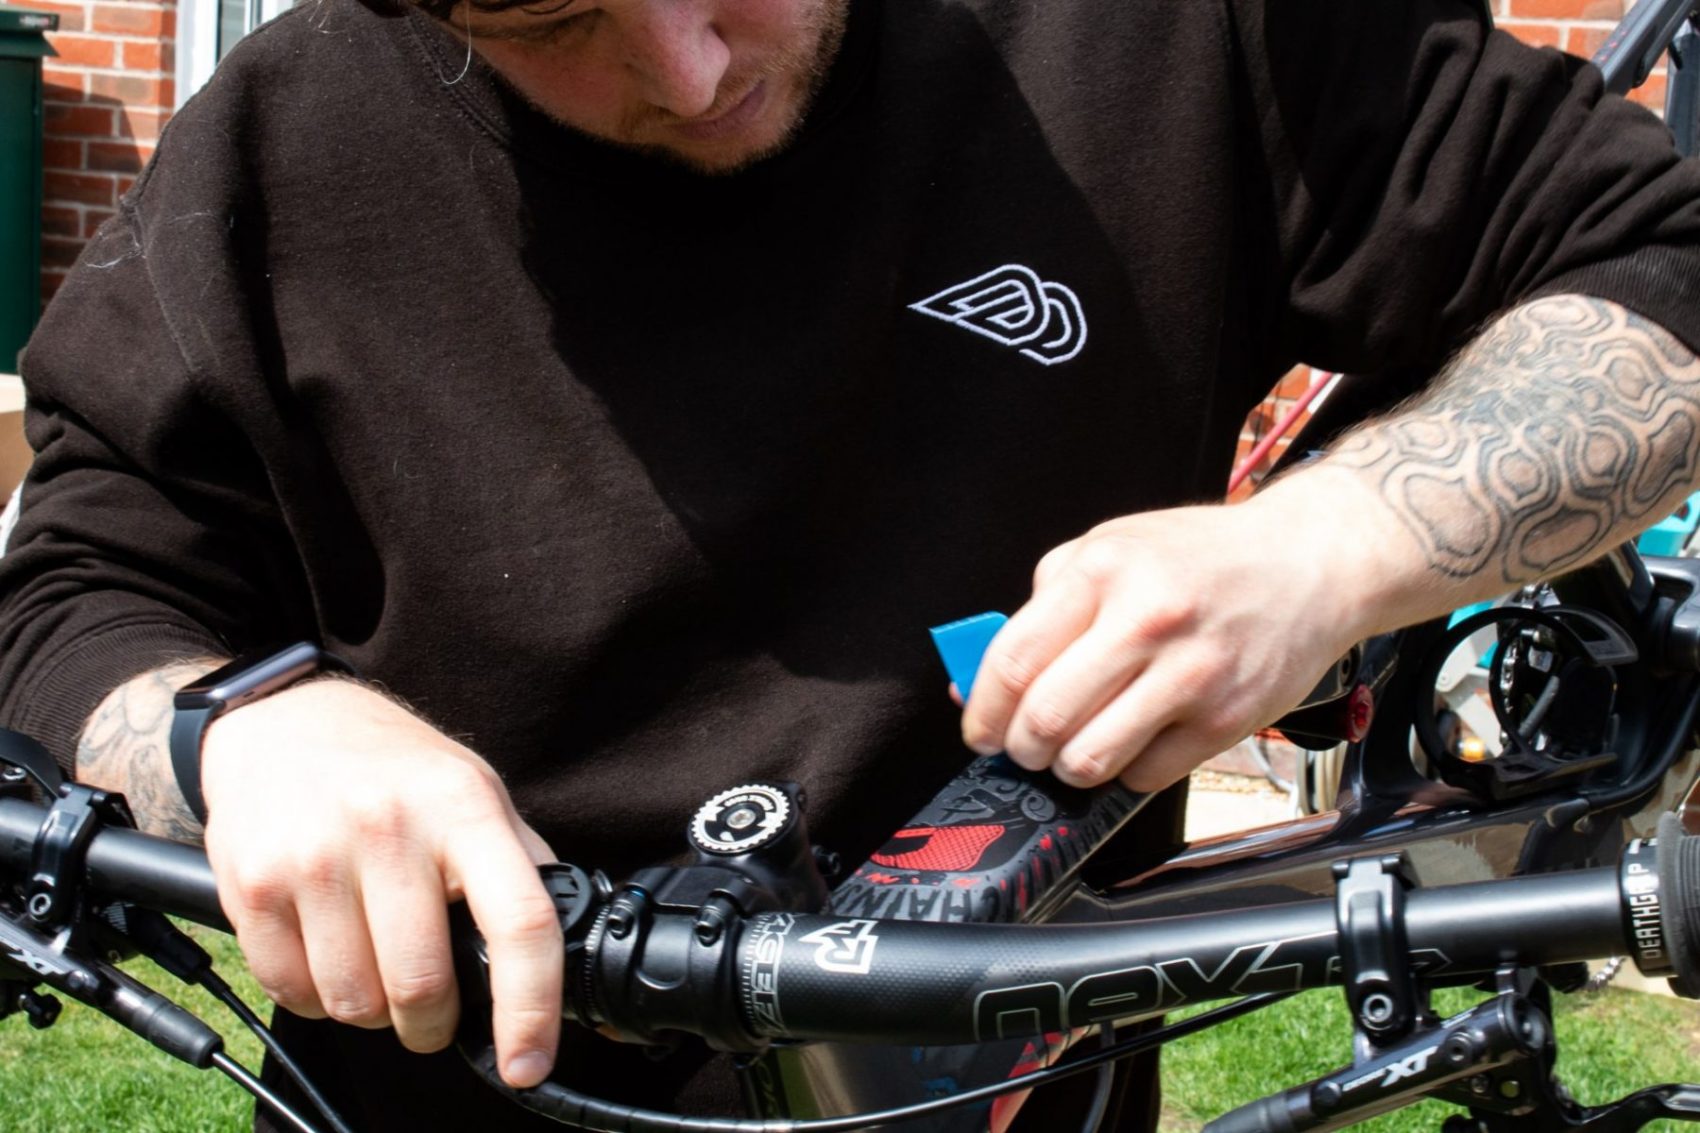
Once the vinyl piece is placed to your liking, take your squeegee/spreader which is included in the kit and start to push the soapy water out from underneath which in turn also helps remove the air bubbles. Work with small manageable areas using your hairdryer to activate the glue so that it can start to adhere to your paintwork.
Depending on your frame and size you may need to alter and reduce the size of the vinyl to suit. This is where your scalpel comes in handy as you can trim to what’s needed. The film is very compliant when coming to a dodgy angle make sure you use your hairdryer and spreader to work the vinyl around the detail and again take your time. Repeat the process on the other areas of the frame that need the film applying.
Finally
Once applied to your frame go back over with the hairdryer and spreader to get out any stray air pockets, push any corners that are lifting back down and apply decent heat to make sure the glue sticks that area down.
If your not happy with an area don’t be afraid to lift the film back off and reapply, Due to the thick nature of the film it is very forgiving to work with.
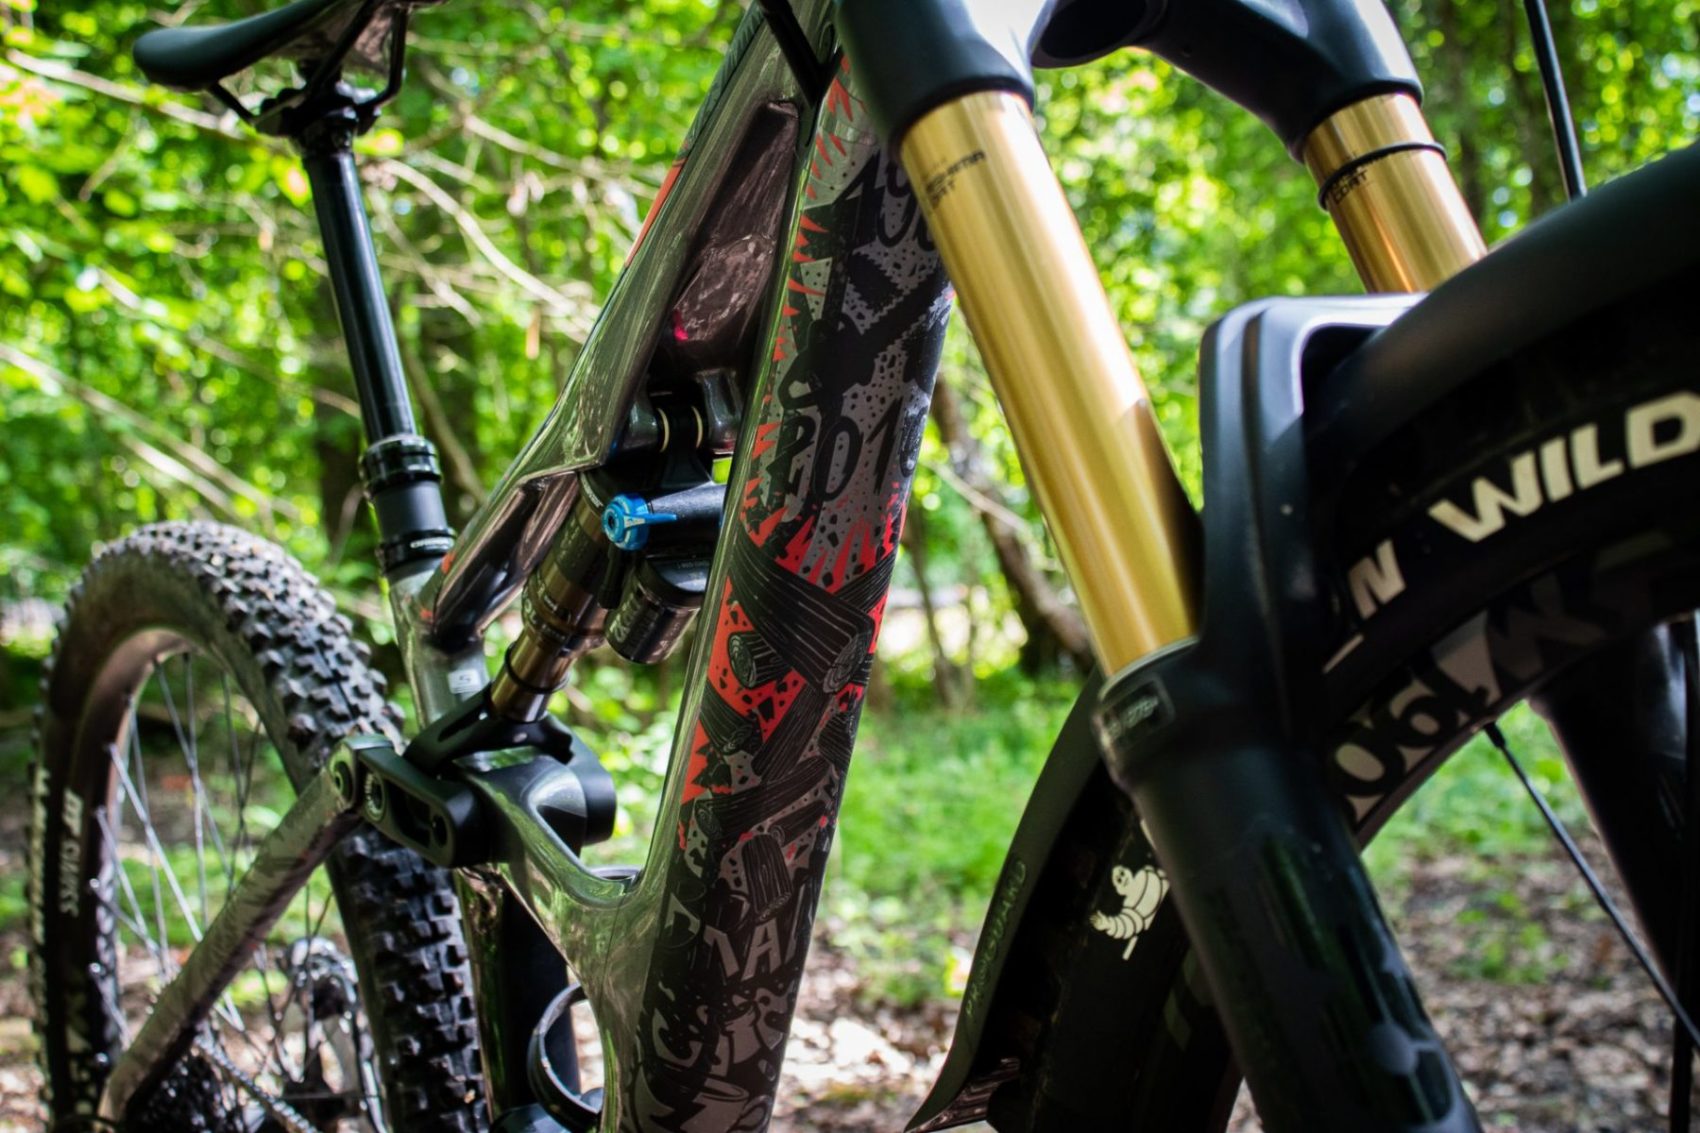
When you’re happy with your work I would suggest storing your bike in the sun or indoors and leave for a minimum of 12 hours. This allows the glue to really adhere to the paintwork of your frame properly.
Above is the video from DYEDBRO themselves on the installation so you have 2 versions to use for reference to give you the best chance of a decent end product.
Don’t Rush!
In total the application took me two hours but I have experience in using a similar technique. As long as you take your time you will have the same end result. Overall I’m very impressed with this product.
Let us know in the comments which kit you buy and how well you get on!