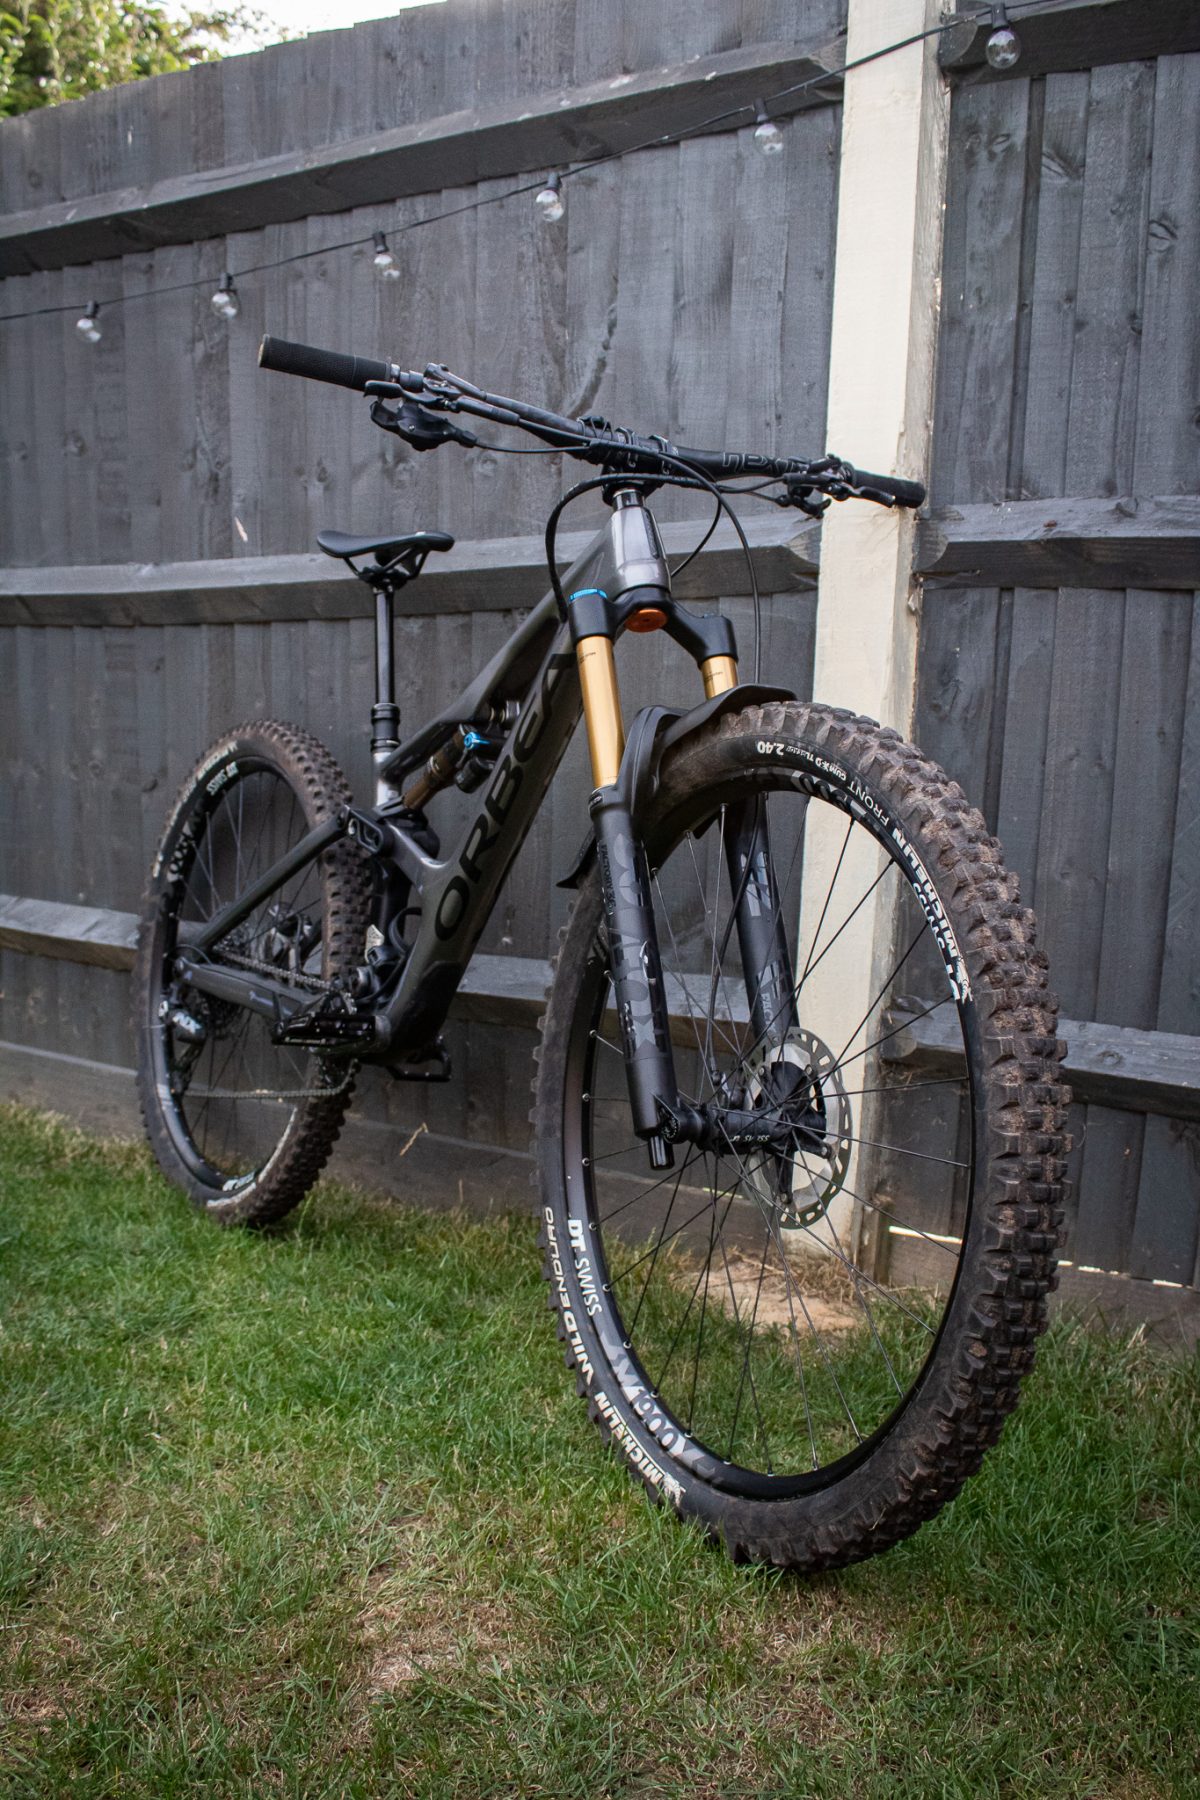
10 Easy Steps On Washing Your Bike Correctly
In this article we will be giving you 10 easy steps on washing your bike correctly. Cleaning your bike should be your number one priority whether it’s cleaning off that summer dust or even all the mud after a wet one, especially in winter. Cleaning your bike gives you the time to check closely at parts of the bike to make sure everything is in order and if not you will notice any malfunctions before they cost more in repairs. Here are ten easy steps on washing your bike correctly and keeping your bike clean and healthy all year round.
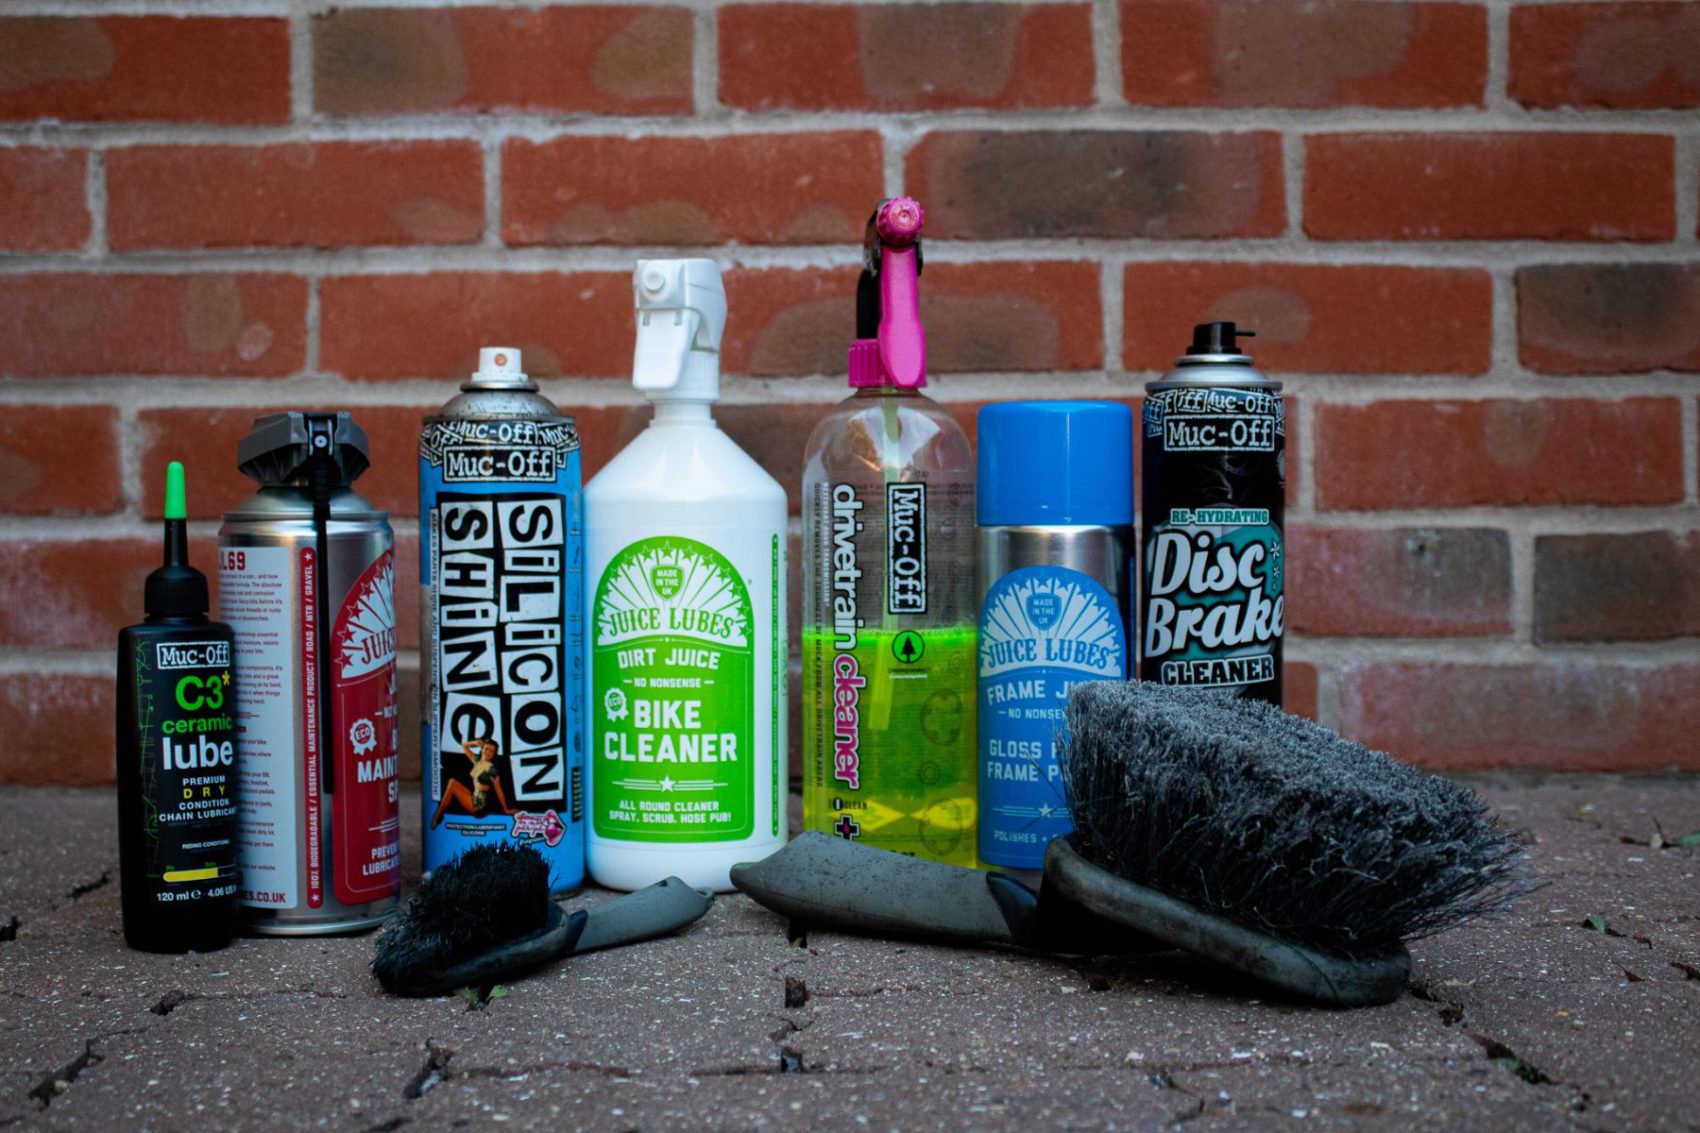
- Get a good selection of cleaning products. Now I’ve been riding bikes for many years now so I have some favourites from different brands. I do like to test others but these are my go too products.
You will need the following to keep that expensive bike gleaming:
Bike Cleaner, Drivetrain Cleaner, Disc Brake cleaner, Chain Lube, Penetrating fluid, Silicon spray, soft brush, a hard bristled brush and two microfibre cloths.
My go to brands are Muc-Off and Juice Lubes to keep my bike clean

2. Now that you have your cleaning products where do you start? Well, best practice for when your bike is muddy is to wash it off straight away, this is the easiest way of removing that grim but for some its not possible if they don’t have access to water if they’re away at an isolated site. Well, the same principle applies to get that mud off as soon as your home. Now most importantly do not point your hose or pressure washer (turned down to a soft spray) directly at your fork seals, rear shock seals or anywhere where you have bearings present. This can lead to water ingress in the places where you just don’t want any moisture.
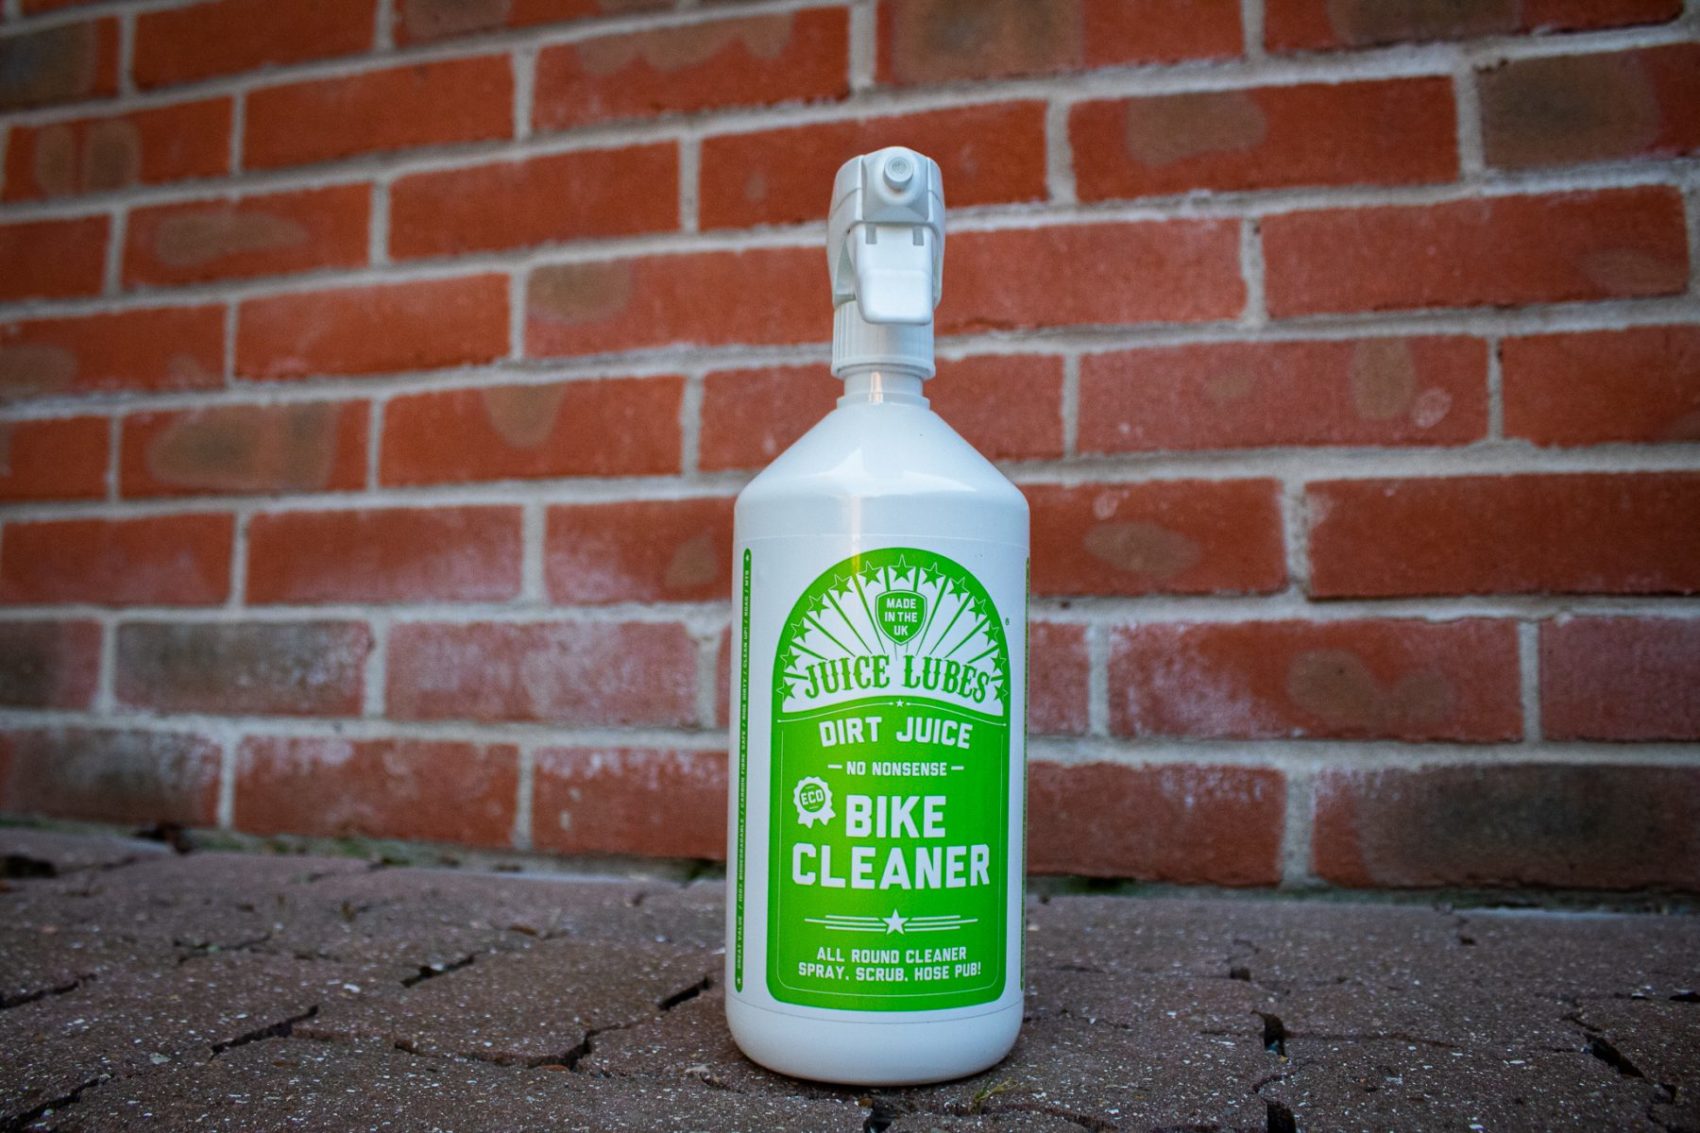
3. Once you have most of the grime off its time to apply your Bike cleaner. Spray generously everywhere on your bike, the more the better and leave to soak for 5 minutes. It’ll get into any grime that’s left on your bike and lift it from the surface.
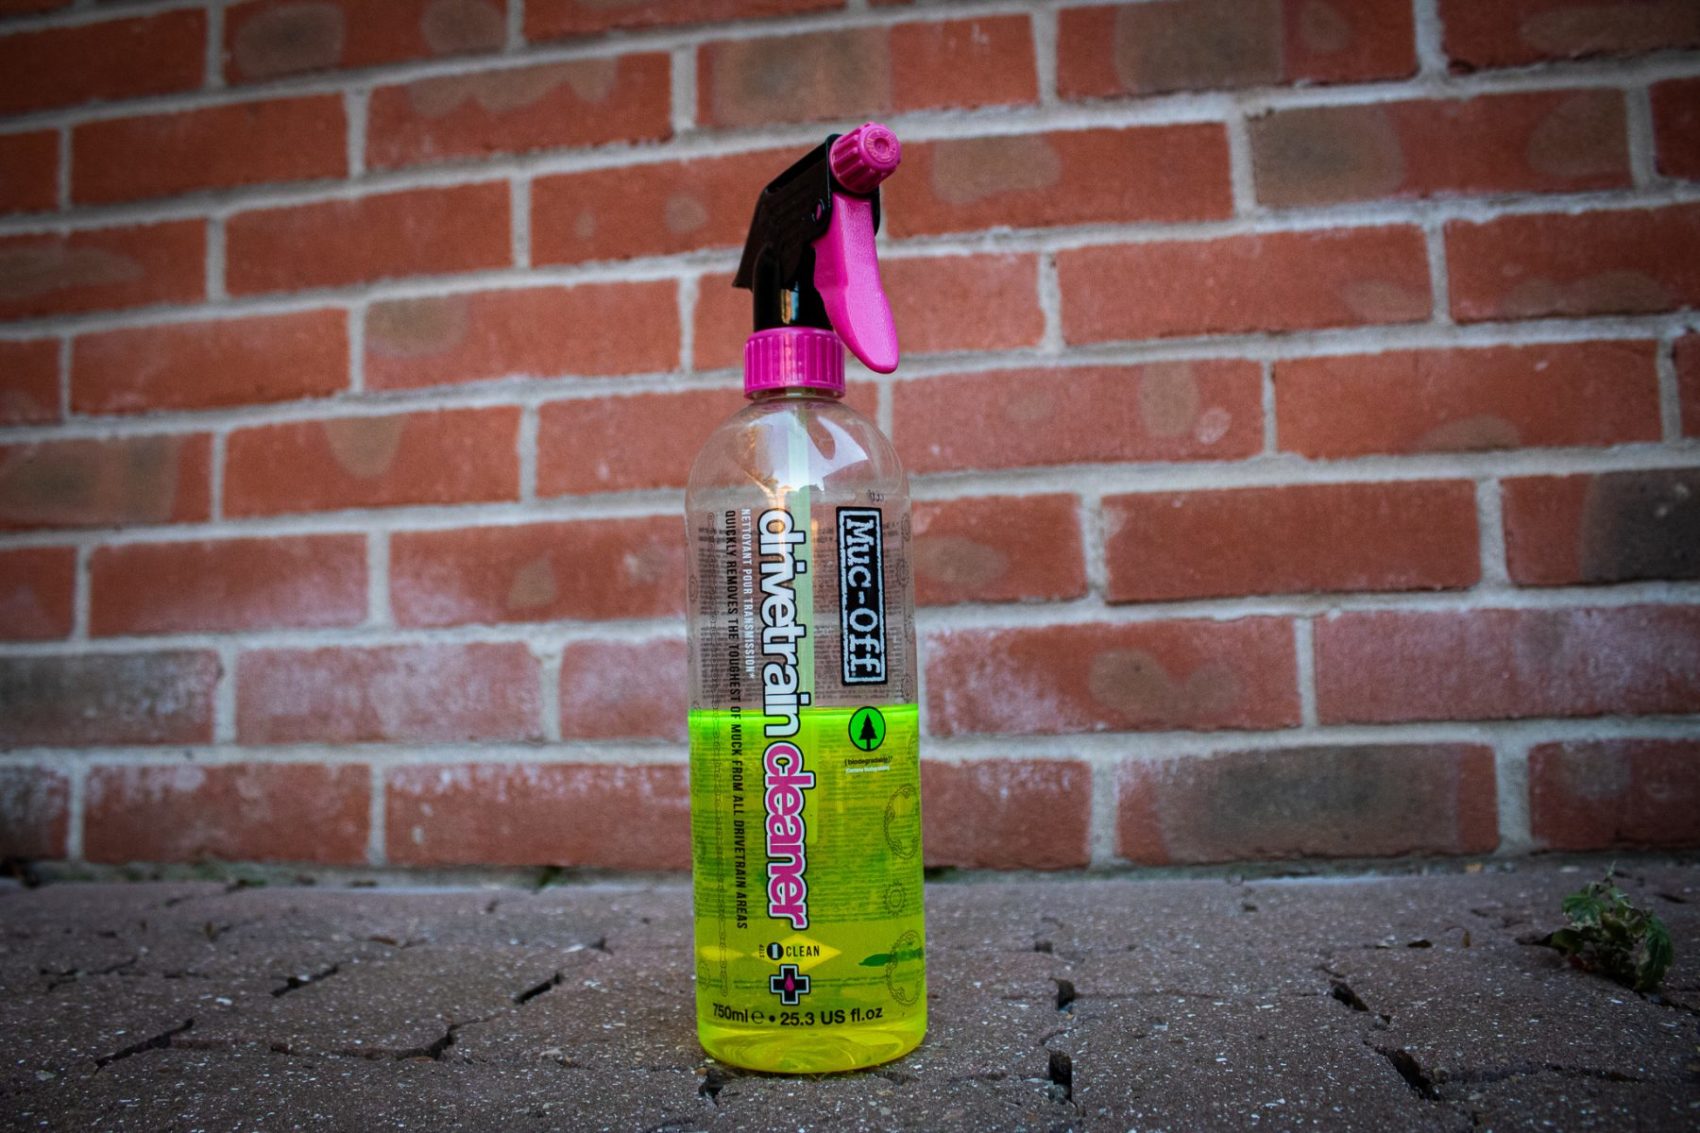
4. Whilst the cleaner is soaking into the dirt now is a good time to apply your drivetrain cleaner. Apply generously to your chain especially if it has been a muddy one and its winter. Youll be surprised how much crud gets into your chain links and thus reduce the life of your drivetrain altogether, once applied leave to soak for a few minutes.


5. Once your 5 minutes are up take your soft brush and brush everywhere on your bike to get anything left that is being stubborn. The reason you use a soft brush is so that it does not scratch anything, Especially your fork stanchions.
Take your hard Bristled brush and give the chain and cassette a “good ol rub” but be extra careful that no oil gets on to your disc callipers and rotors. Now I tend to in the winter after every weekend of riding I remove my chain and leave it to soak in a pot of the degreaser for 24 hours to make sure that everything is removed, in the summer I tend to do this once a month if it has been particularly dry.
Once you have done the two steps above it is now time to hose your bike down again to remove everything and leaving your bike nice and clean.
6. Once you have finished cleaning your bike its time to dry it off. Lift it and drop the bike on its wheels a couple of times to remove most of the water and then give it a good wipe down with one of your microfibre cloths paying particular attention to remove any water ingress from the areas with bearings. I tend to apply some penetrating fluid into those areas to repel any moisture that you cannot get too with the cloth. Now is also a good time to pay particular attention to your bike and check for any damage or defects in parts.
7. When you have completed the two steps above it is now time to hose your bike down again to remove everything and leaving your bike nice and clean.
Once you have finished cleaning your bike its time to dry it off. Lift it and drop the bike on its wheels a couple of times to remove most of the water and then give it a good wipe down with one of your microfibre cloths paying particular attention to remove any water ingress from the areas with bearings. I tend to apply some penetrating fluid into those areas to repel any moisture that you cannot get too with the cloth. Now is also a good time to pay particular attention to your bike and check for any damage or defects in parts.
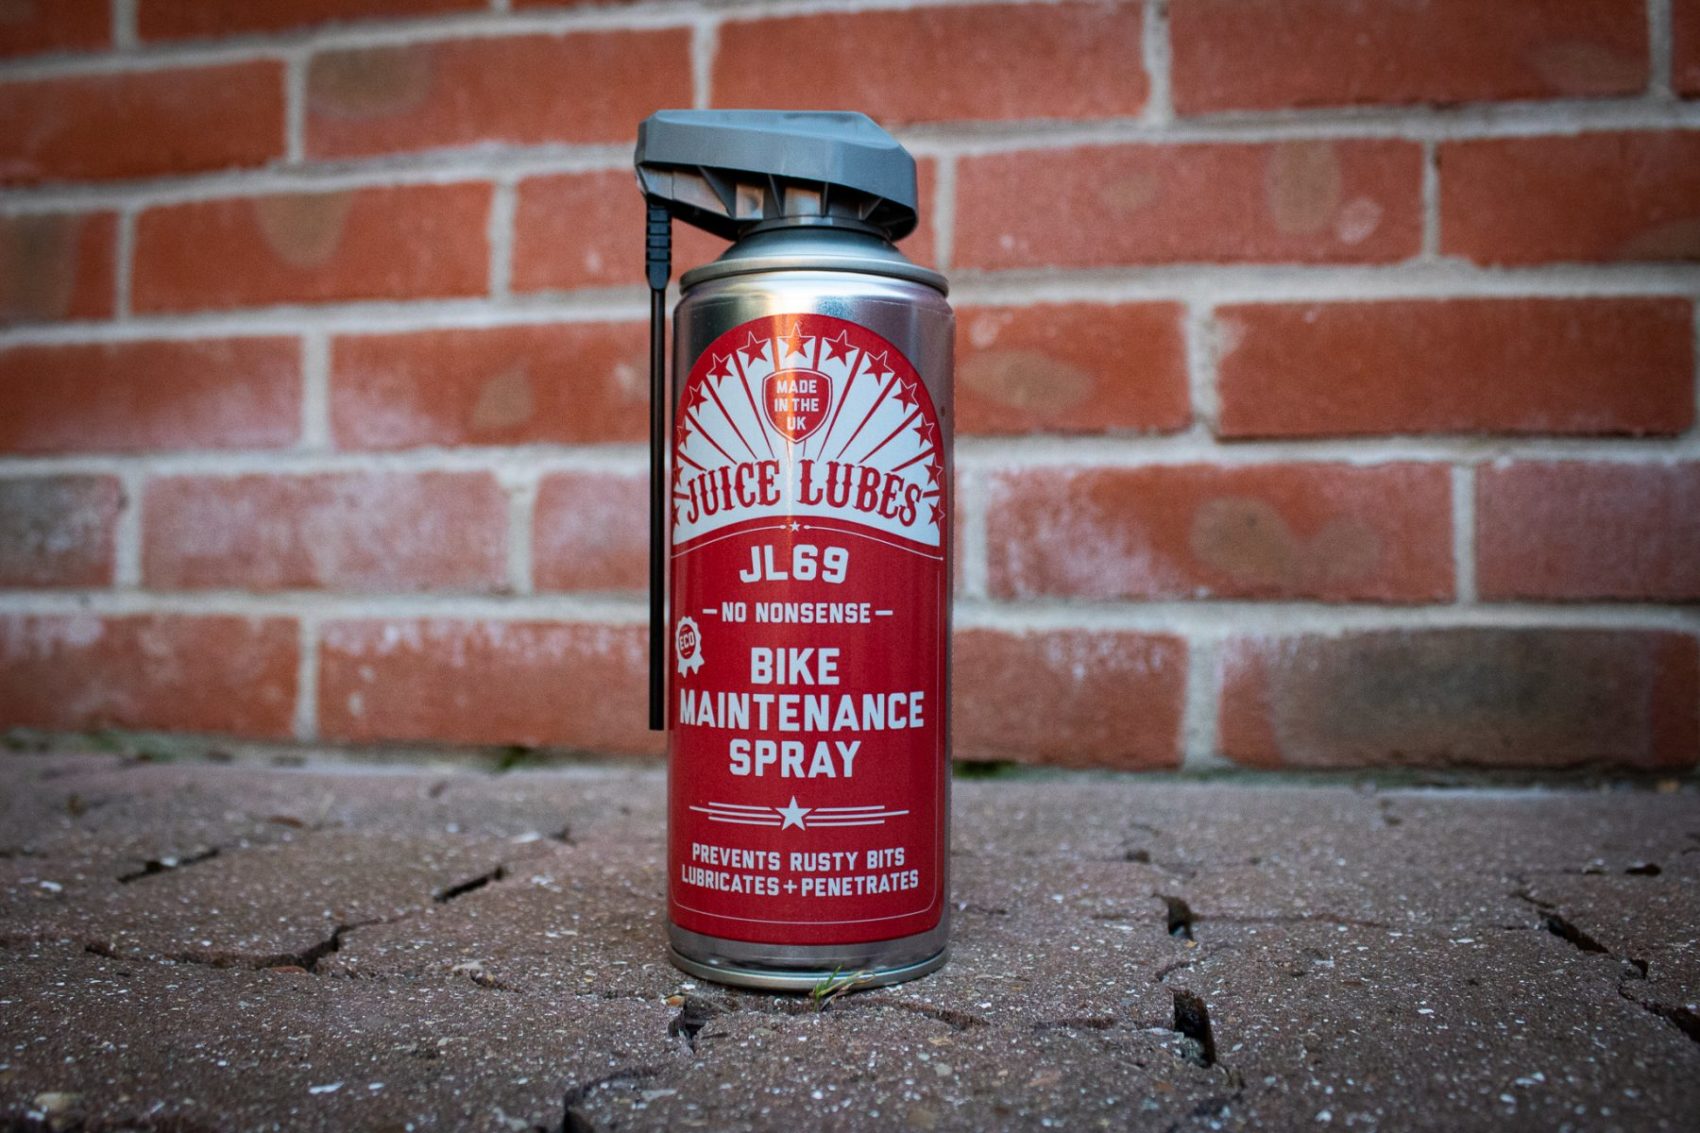
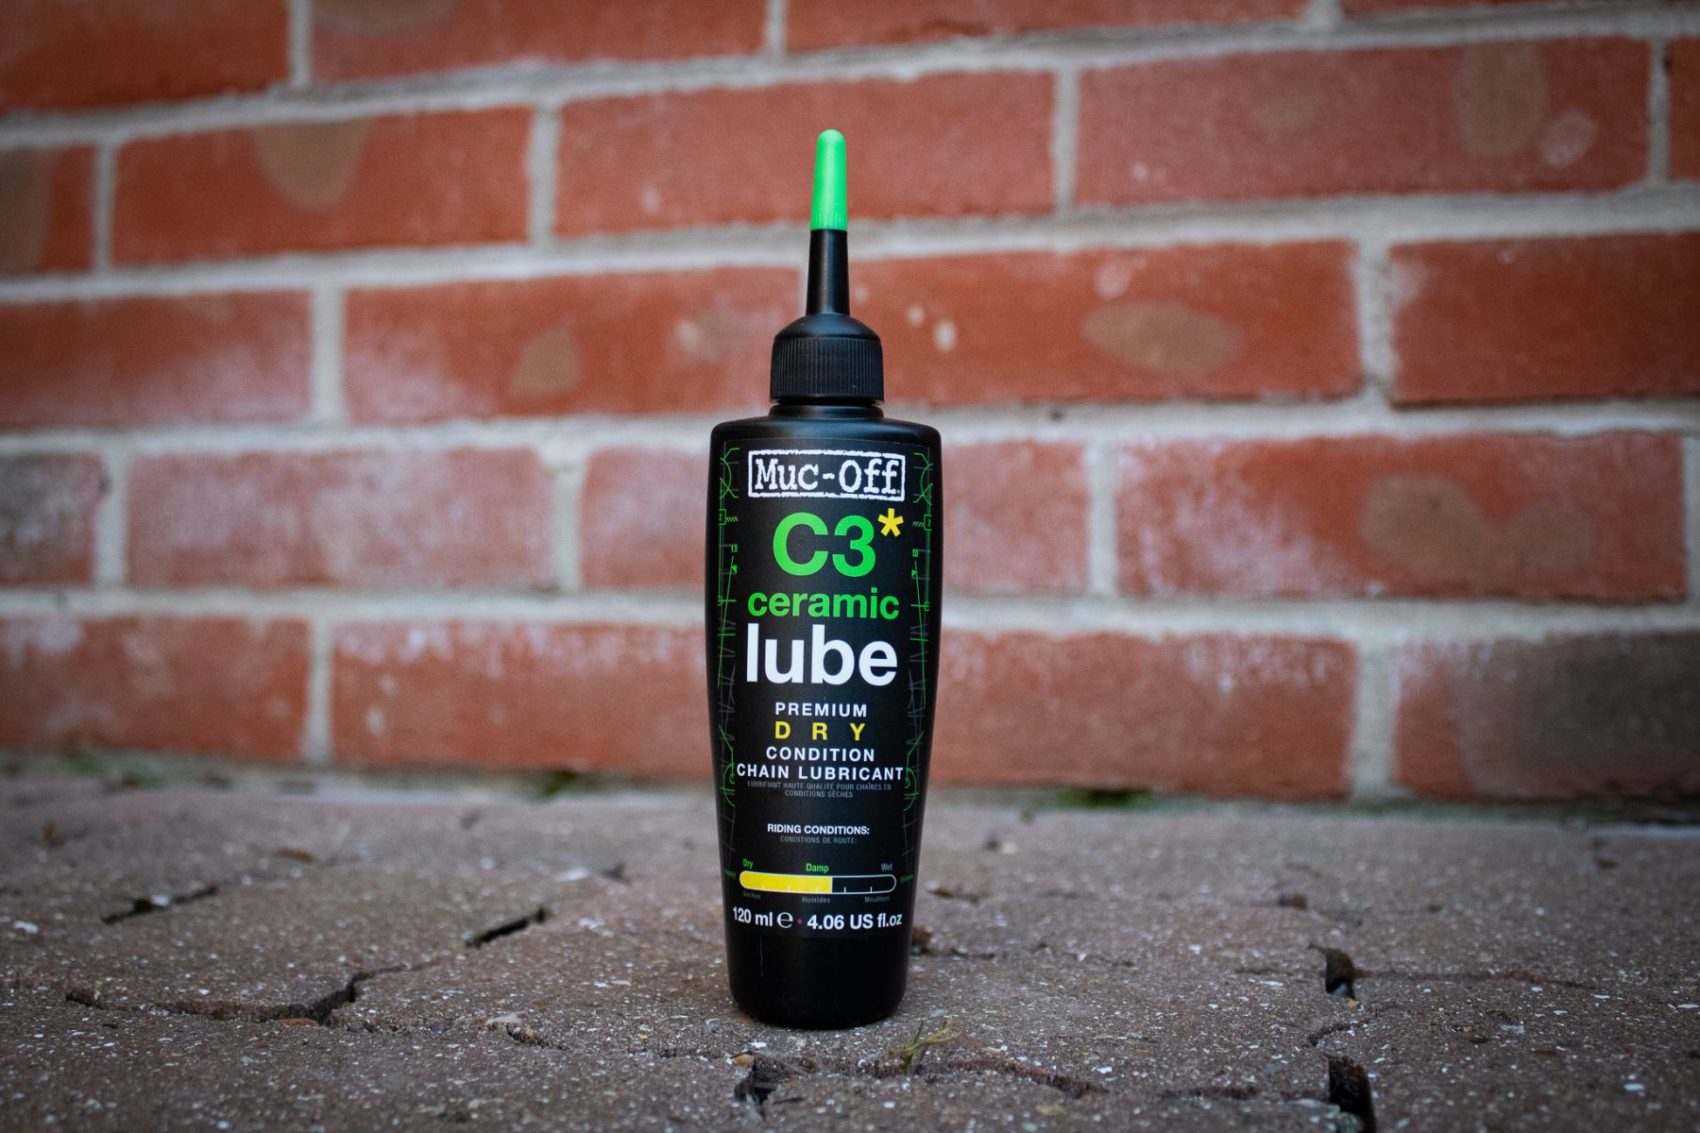
8. Now that you have tended to your chain its best to leave the chain lube to soak in for a while before you clean the excess. It’s at this point where I take the maintenance spray and apply it to bearing points and anywhere you may have cables on show. This clears the water from these points and stops them rusting. In the case of the cables, it stops them rusting inside the outers and causing friction when you operate them.
Once you have completed this step its now time to take your dirty rag and clean off any excess chain lube from your chain.
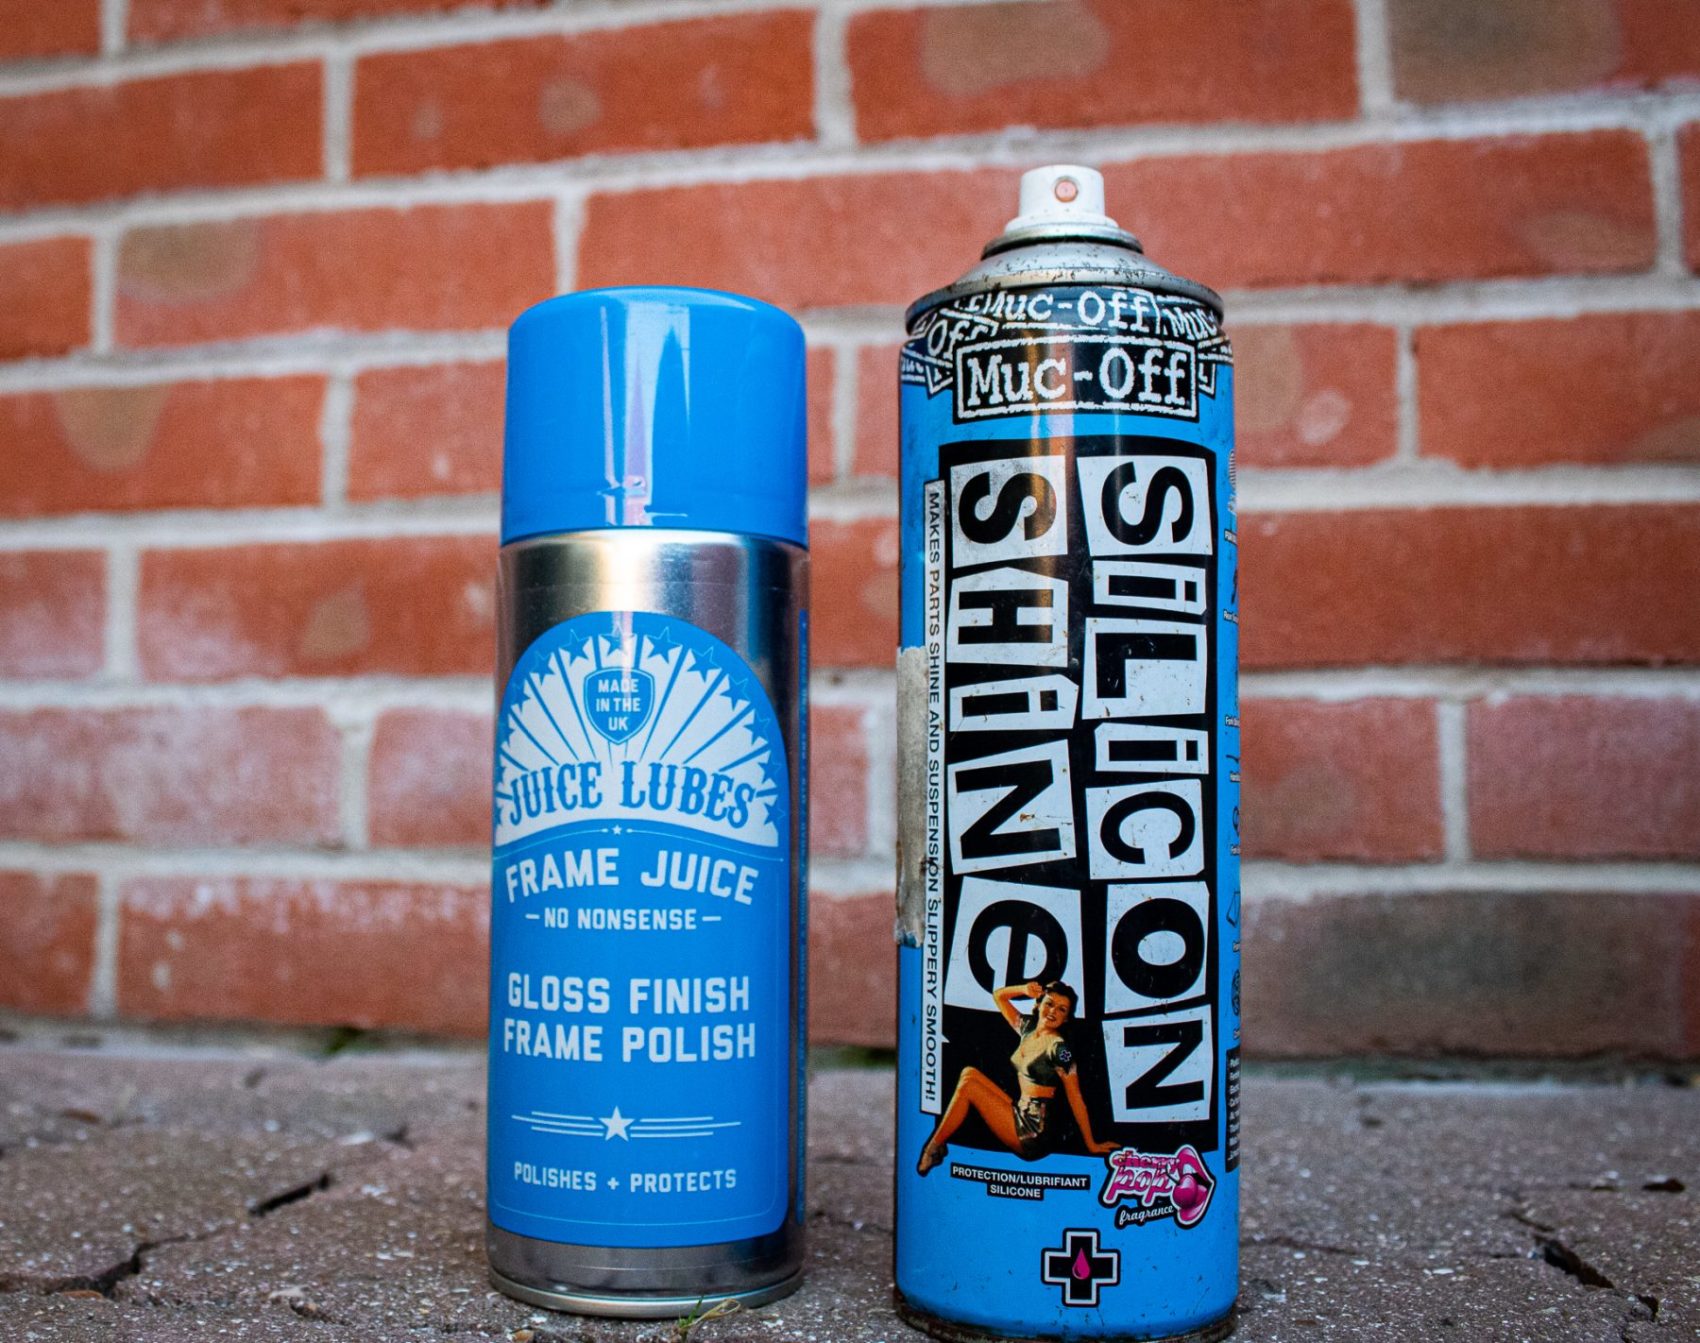
9. Now is the time to get your frame looking nice and new and super shiny with some frame polish. Make sure to be careful where you are spraying this as you do not want it anywhere near your brakes. My tip for you here is to spray a small amount into a clean cloth and apply. This way you contain the polish and will not get overspray onto anywhere you don’t want it too.
The added bonus to applying this is that most of the mud cant stick to your bike and will simply slide off on those really wet days.
The next step I like to do at this point is to apply some silicon shine to my fork stanchions and rear shock stanchion. This helps lubricate and also helps stop sticktion on your suspension, the same principle applies to this with your brakes, keep it away.
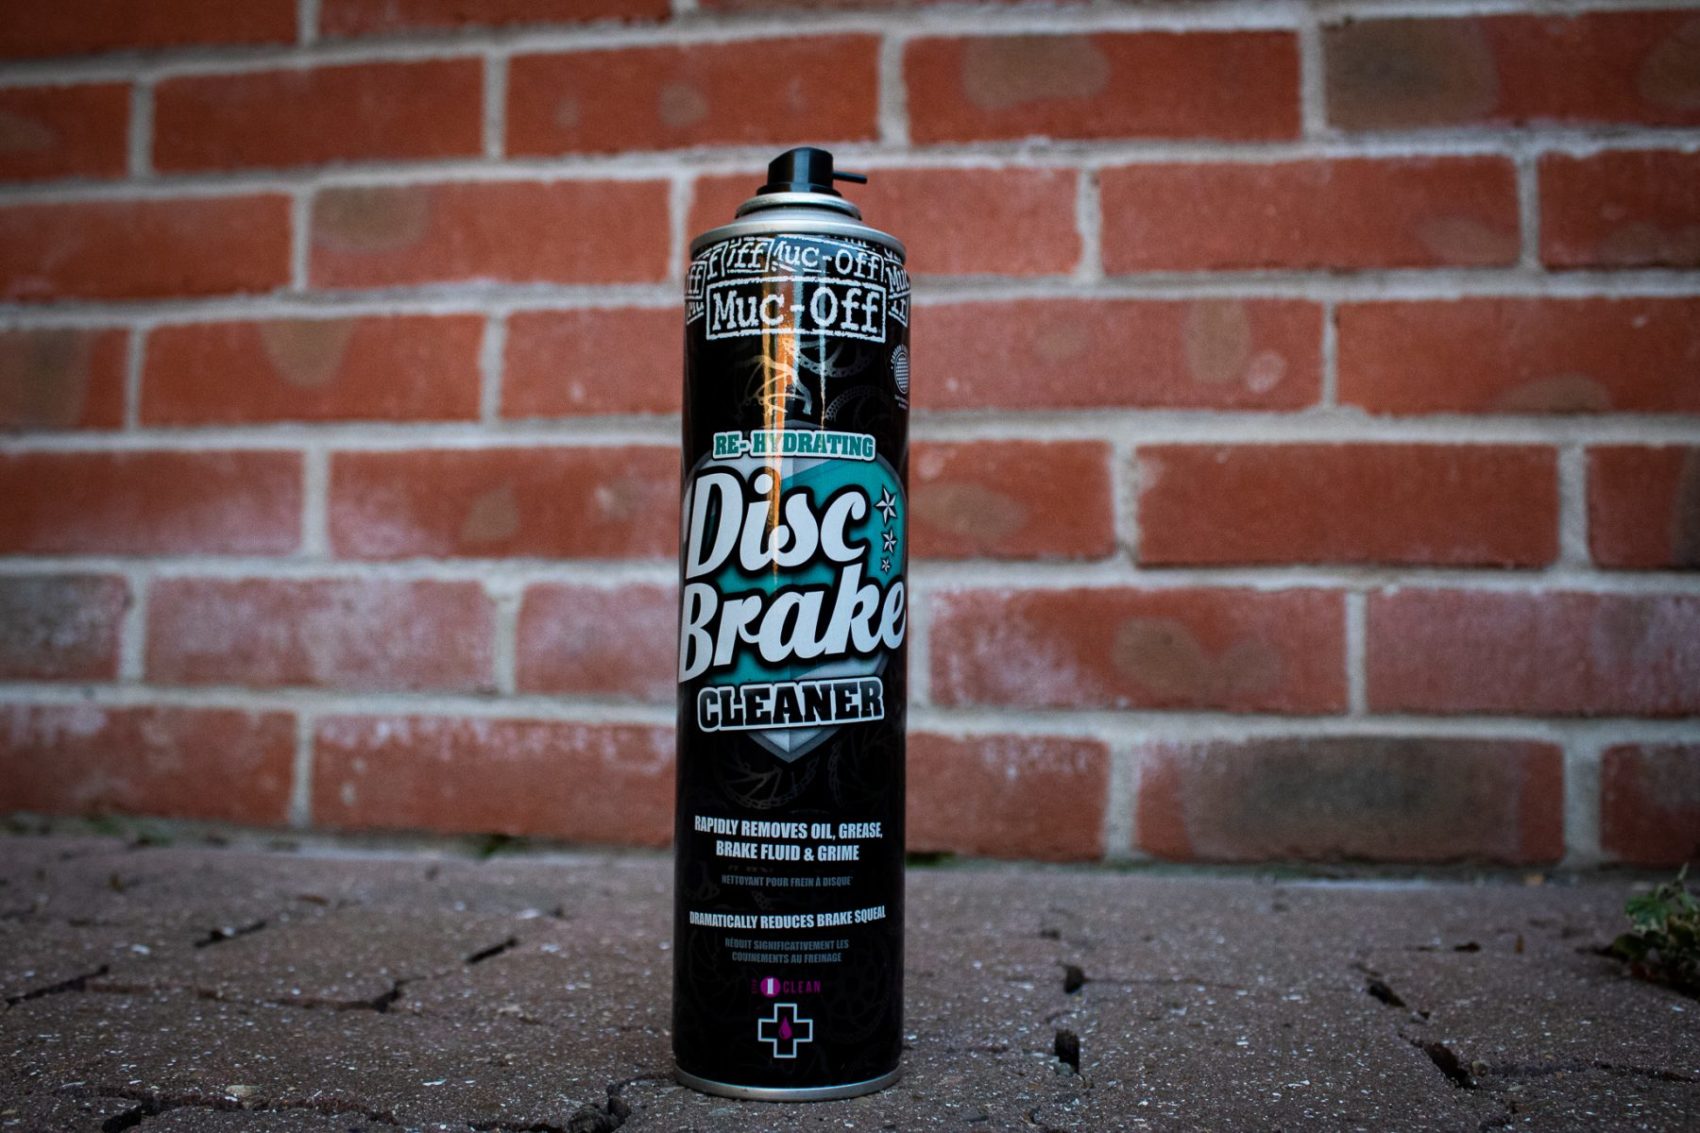
10. Last step of the bike clean process and it is probably one of the most important steps, cleaning your disc rotors. Take your disc brake cleaner and spin your wheel, apply some spray to both sides of your discs and to the back of the callipers. This will help clean off any contaminants that may have got on to your brakes and could cause issues when you come to use them and no one wants that.
Now that you have completed all of the above your bike should be looking like brand new and ready to hit the trails again! It’s good to follow these simple steps and make sure it becomes a habit as it can save you a lot of money in repairs caused by lack of care.
What did you think of this guide? should we do more? Let us know below
Why not check out our other article including other Juice Lube products